Record Series Setup Utility
Creating and configuring records management objects in the Laserfiche Records Management Edition (RME) can be time consuming. If you are dealing with a few records series at a time, this process won’t take long, but if you have to create a large number of records management objects in one sitting, it will be much faster to do so in a batch. This handy Records Series Setup utility enables you to fill out an Excel spreadsheet with most of your records management requirements and import it into your Laserfiche repository quickly and efficiently.
Where would you use this utility?
This utility is very helpful in the following instances:
- If you are a brand new user just converting your whole system to Laserfiche RME.
- If you are an existing user who needs to make many updates to the Laserfiche RME in a short period of time.
What does this utility do?
This utility imports data from a pre-populated Excel file and uses it to create records management items in your Laserfiche repository. Each sheet corresponds to a different records management object and the name of each column in the spreadsheet determines what type of data it contains.
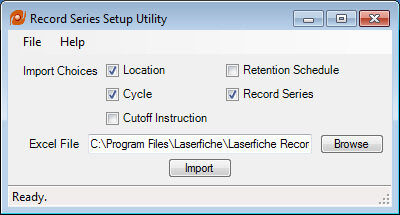
The following records management items can be created with this utility:
- Location
- Cycle
- Cutoff Instruction
- Retention Schedule
- Record Series
What does this process look like?
- A user selects what records management items to import, as well as the source of the Excel file.

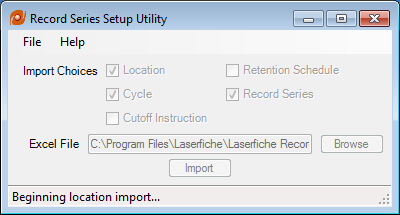
- After clicking Import the file gets imported.

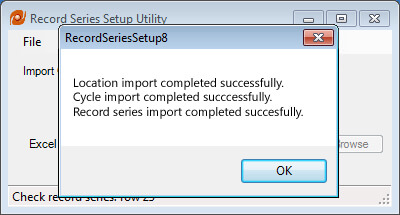
- Once the import is finished, a message notifies the user of the success or failure of the import process.

This utility logs each import and records successful and unsuccessful actions in a log file that you can access by choosing View Log under File in the utility’s menu bar.
What are the requirements for using this utility?
- Access to a Laserfiche 8.2 Server or higher, with a Records Management Edition flag in the server license.
- Microsoft Excel 2003 or higher to be installed on the same machine.
- Access to an existing Laserfiche 8.2 or higher repository.
This utility must be run by a user with the following credentials:
- Records Manager privilege
- Create Folders and Write Metadata Entry Access Rights on and under any existing folder in which the record series are to be created.
What should I keep in mind before using this utility?
You will first need to create an Excel spreadsheet (both “.xls” and “.xlsx” files are compatible) that has been pre-populated using the specifications described in the documentation (log in required).
Some key points about the Excel spreadsheet
- Every sheet must be named appropriately but your Excel file does not need to contain all possible sheets.
- Sheets will be processed in the following order:
1. Location
2. Cycle
3. Cutoff Instruction
4. Retention Schedule
5. Record Series - You can use objects that you defined in one sheet to create objects in the next sheet.
- Sheets will be processed in the following order:
- Format and name the columns exactly as defined in the documentation. Do not place columns from two different sections in the same sheet.
- Always enter the column names in the first line of your Excel sheet and the values for each record management object in the lines below the column name.
- Do not include any completely blank rows as this utility will stop processing the sheet when it encounters a blank row. The documentation describes which columns must be filled out and which are optional.
How do I install this utility?
- The documentation can be downloaded here.
- The zip file with the utility can be downloaded here.
- Run setup.exe to install the utility.
A version of the utility for Laserfiche 8.0/8.1 can be found here.
*A Support Site account is required to download both the documentation and the zip file.*
After installing the utility, a fully-functional sample spreadsheet can be found in the installation directory. Use this spreadsheet to test the utility and confirm you are using the correct syntax and format.


